Adventure waivers
This third party app allows you to easily collect and manage an unlimited number of digital waivers. Create your custom forms and schedule emails to customers for use on all devices. This short guide intends to show the fastest way from installation to productive use:
Installation of the app and creating your first form:
- Go to the Bókun App Store and install the Adventure Waivers app – Remember, it’s free for 14 days, why not give it a try?
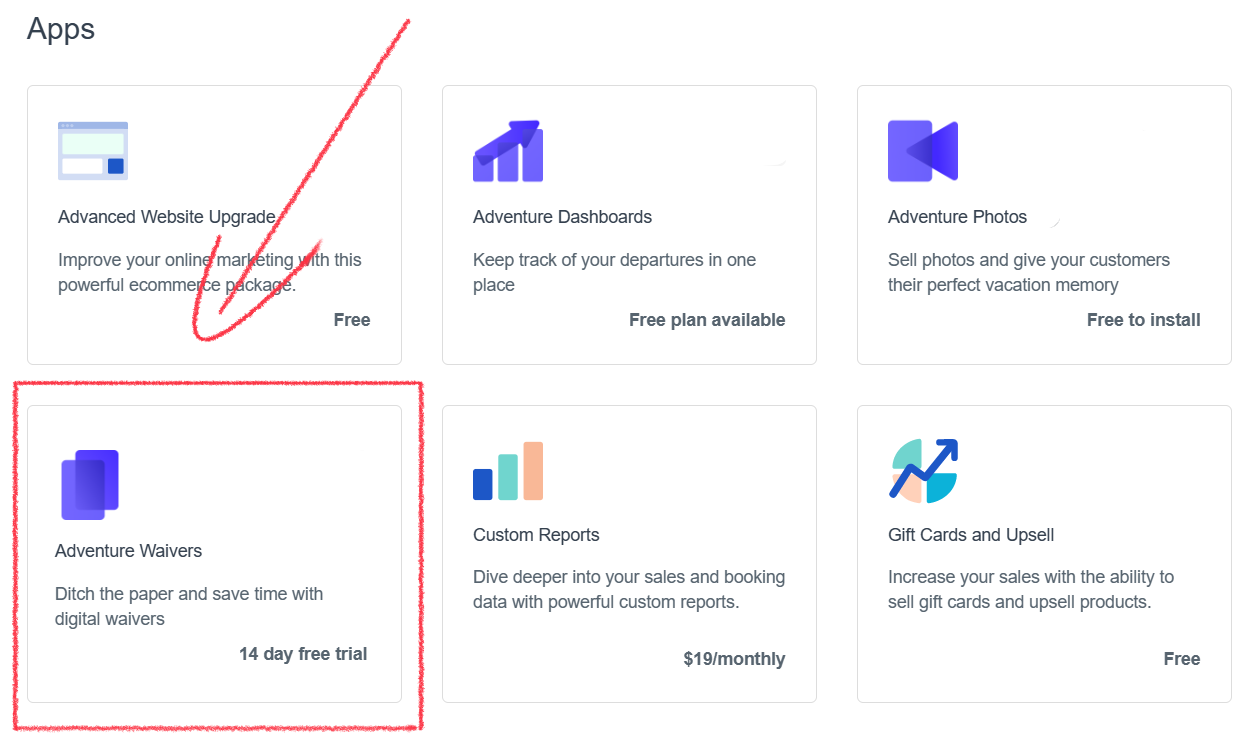
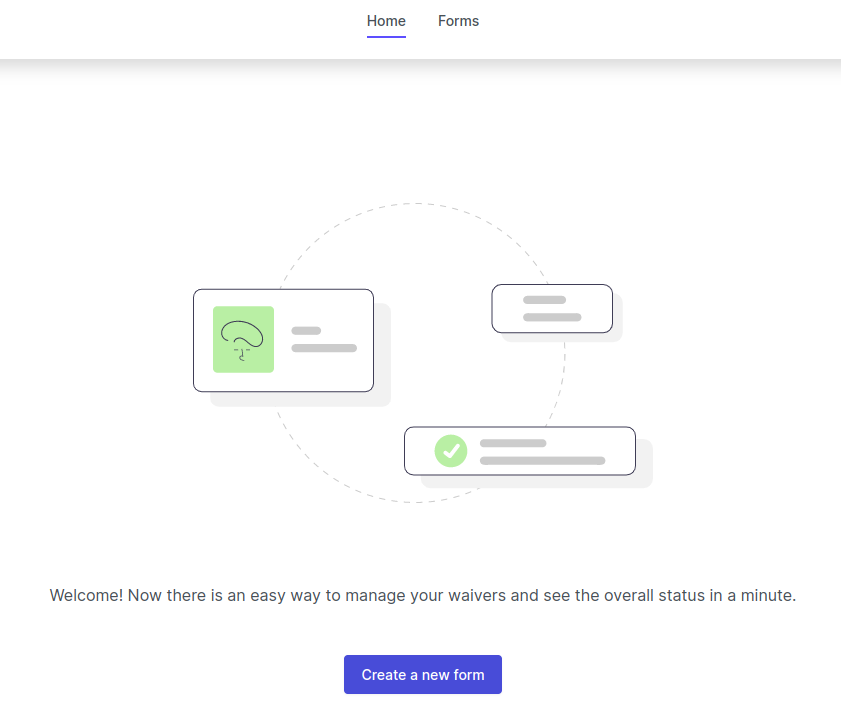
After the installation you will find yourself inside the Adventure waiver app.
To create your first waiver form click Create a new form. You'll then get redirected to the form editor.
Type in a name for your waiver, this will also be visible to passengers.
You can then put together the form by dragging different section types from the right bar. You can for example have:
- Some paragraphs or images to provide the texts and instructions for your waivers.
- Questions you want to ask your passengers, for example open text questions, yes / no questions or multiple choice questions.
- A signature field to ask your passengers to sign waivers.
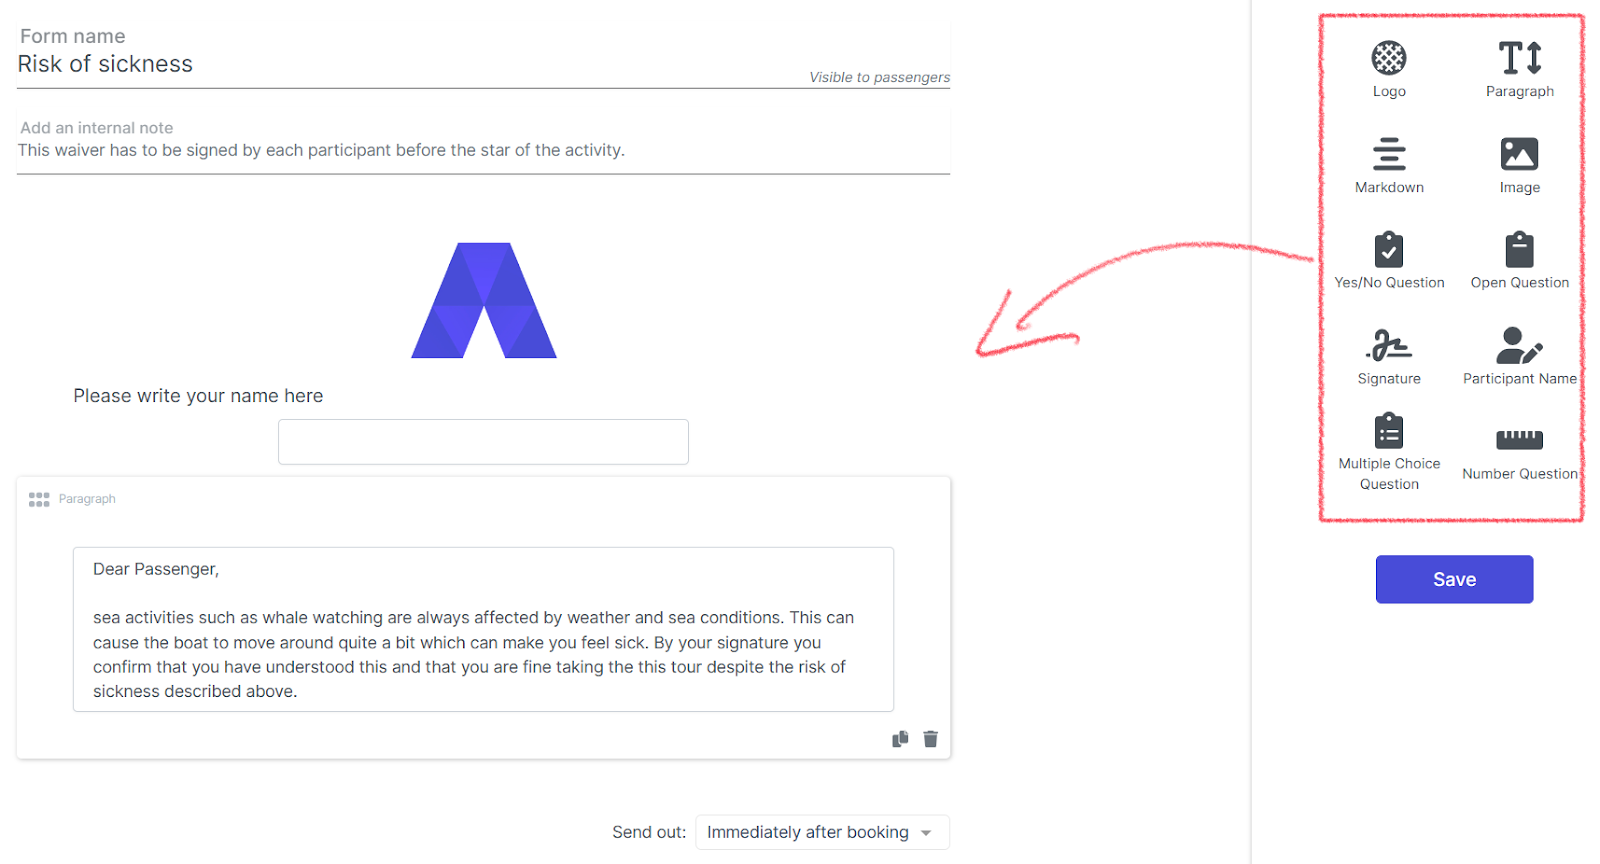
Before saving, you should select when the waiver is sent out, either directly after a new booking is made or closer to departure time.
You are then redirected to the connection settings where you can choose for which of your departures this waiver should be used. Find your departures in the list below the search field and drag them into the white box on the left.
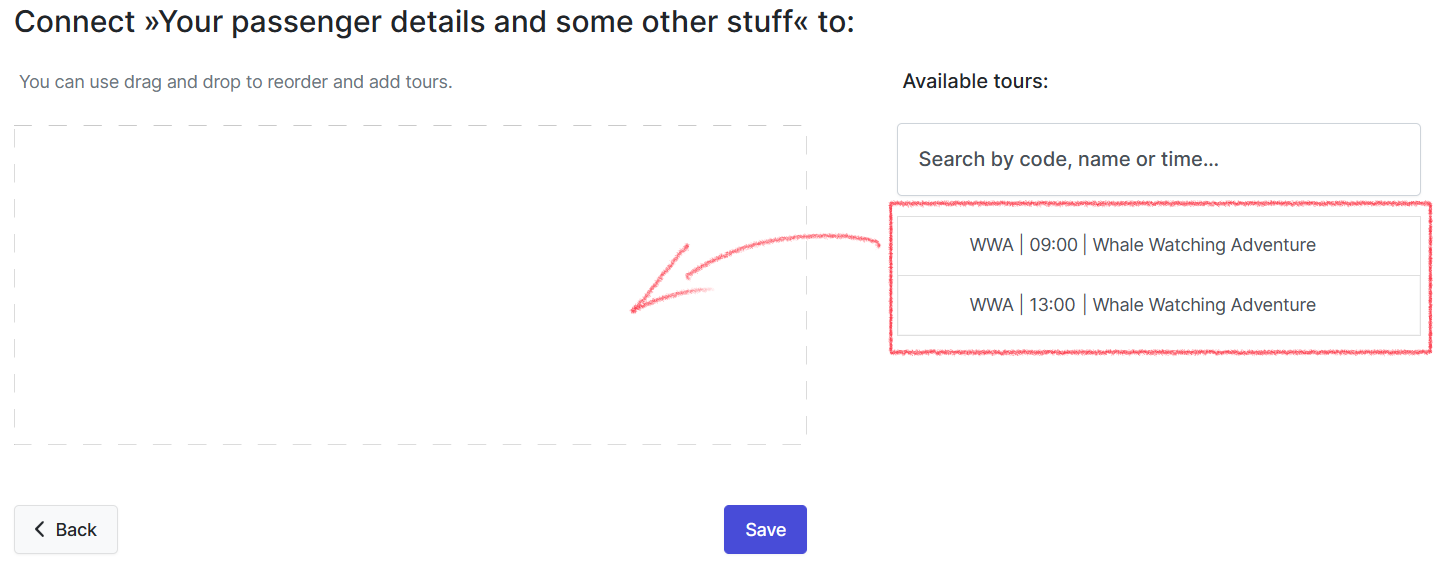
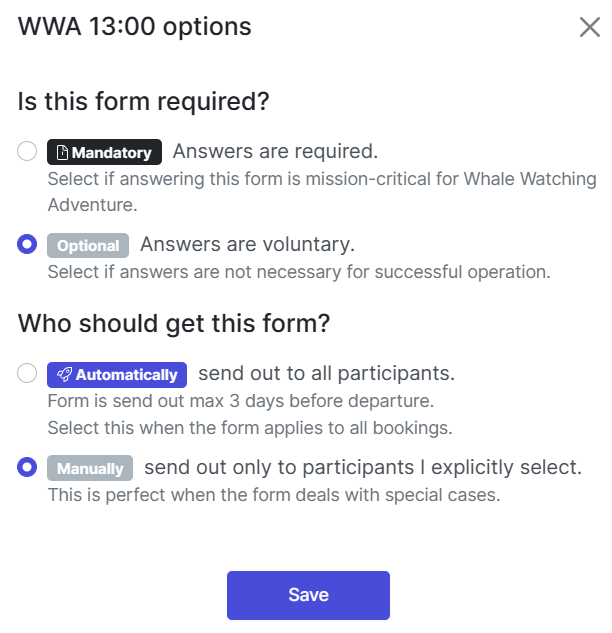
The first time you drag a departure into the field a dialogue will open with detailed settings, you can for example set a waiver up to be not required for departure.
For testing purposes you can also set it up initially to be not sent automatically to all passengers, but only manually to those that you want to send it to.
Now that we have set up a waiver let's head to Home.
Here we see all departures which are connected to a waiver and have bookings in the next couple of days. The list of bookings is refreshed every 15 minutes from Bókun (so on first use it might take some minutes until your departures appear):
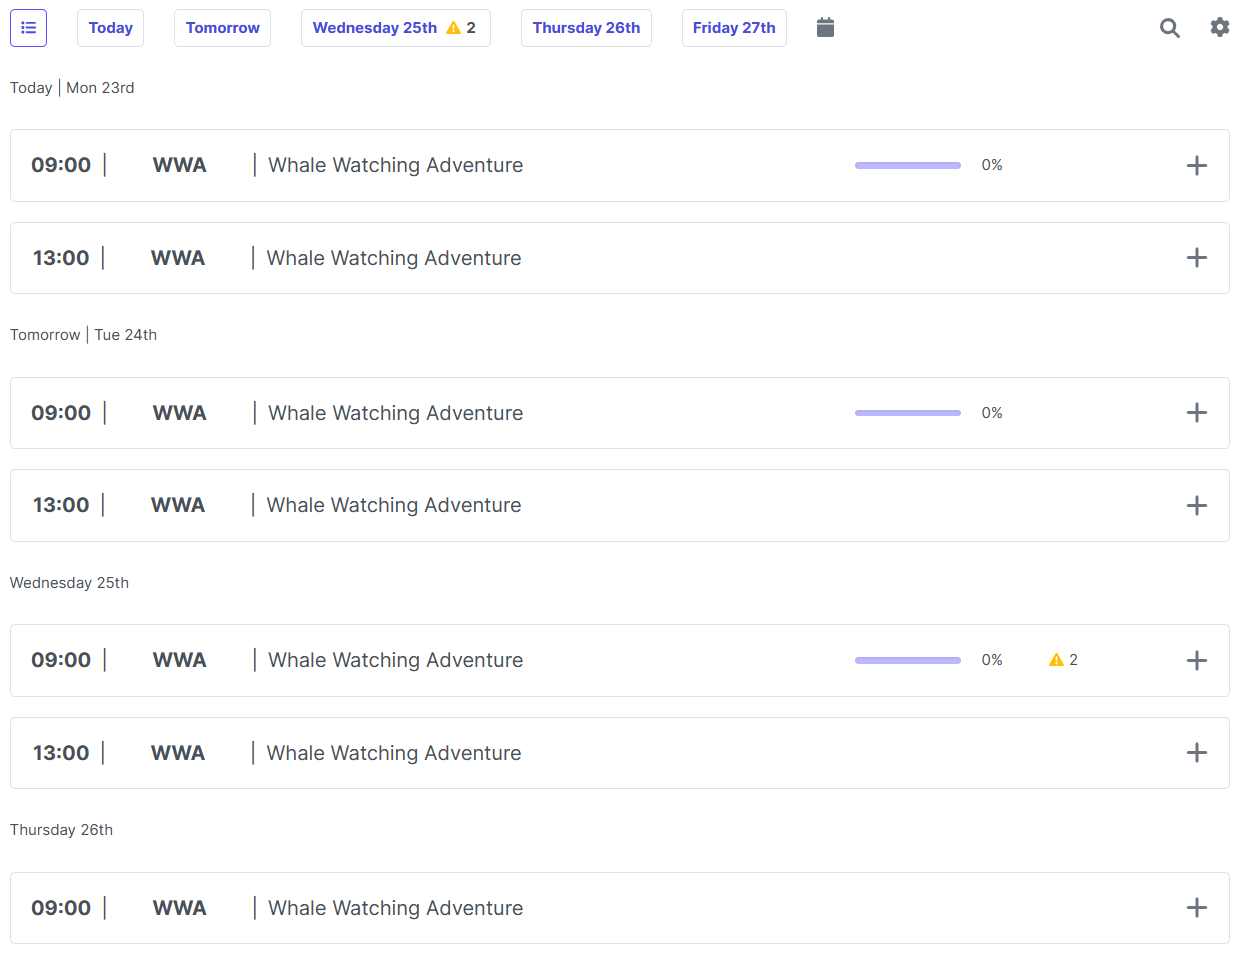
Let’s explore it from a users perspective with a little test:
You need a test booking with an email address you can receive emails on.
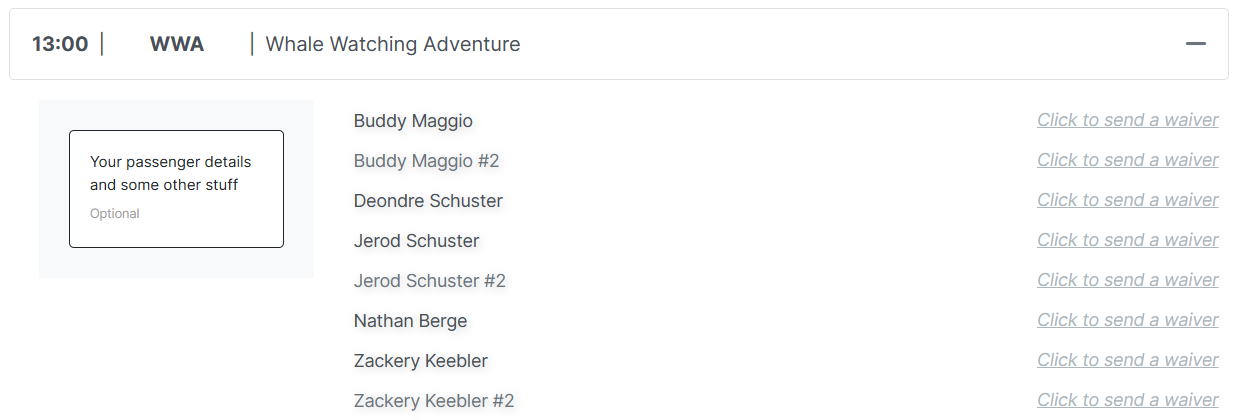
Go to Home and click the + icon on the departure your test booking is booked on. A list of passengers will appear.
Select Click to send a waiver behind the name of your test booking.
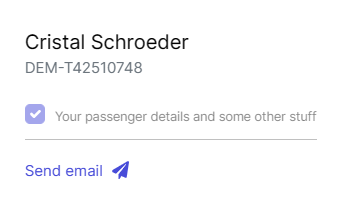
- A message appears displaying the name on the booking and the activity booking number to make sure you have selected the correct one. In case this is your test booking click Send email.
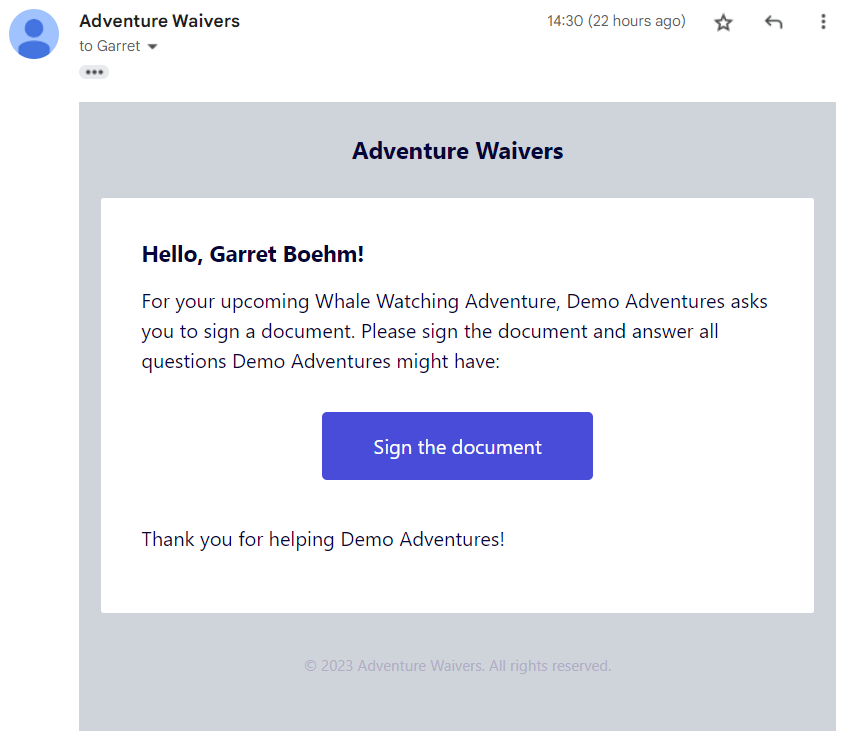
- Now check your inbox. You'll find an email with the subject [Your Company Name]: Please sign a document for your upcoming [Tour name]. Click on the Sign the document button in the email and you are redirected to the customer page where you can fill out the document.
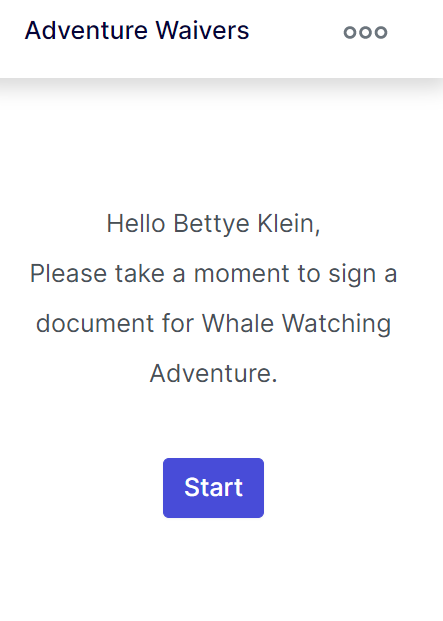
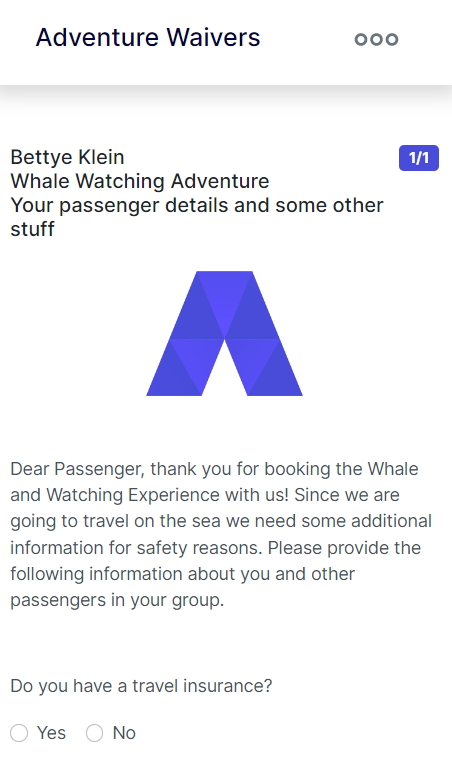
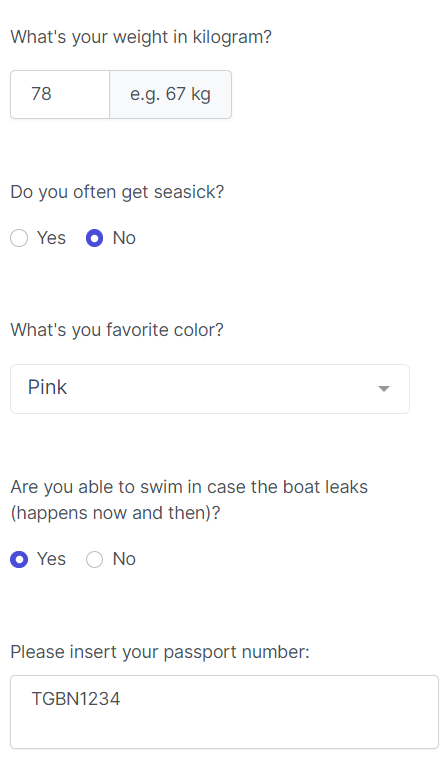
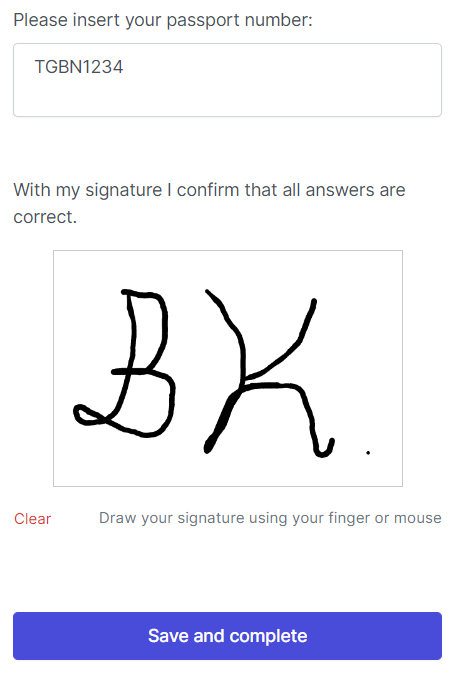
- The customer facing interface will welcome you and guide you through the form. When you are done clicking Save and complete you can go back into the app.
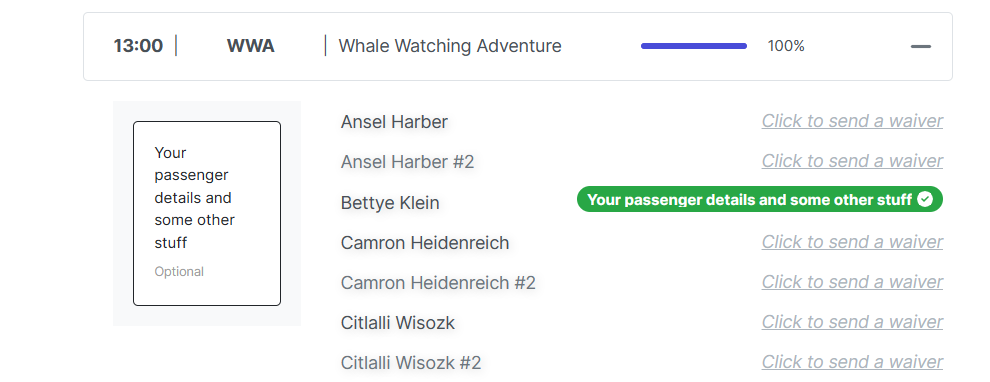
- Back in the app you are able to see the completion status of your passengers.
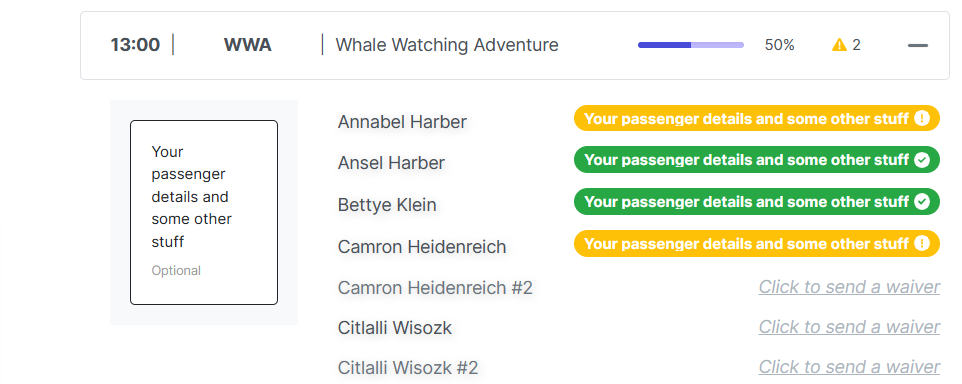
- In case passengers select answers which you don’t tolerate, warnings are displayed in the passenger list. In that case, you will also get a notification email to your company email address. (You can change that setting in your user settings, behind the user icon in the top right corner)
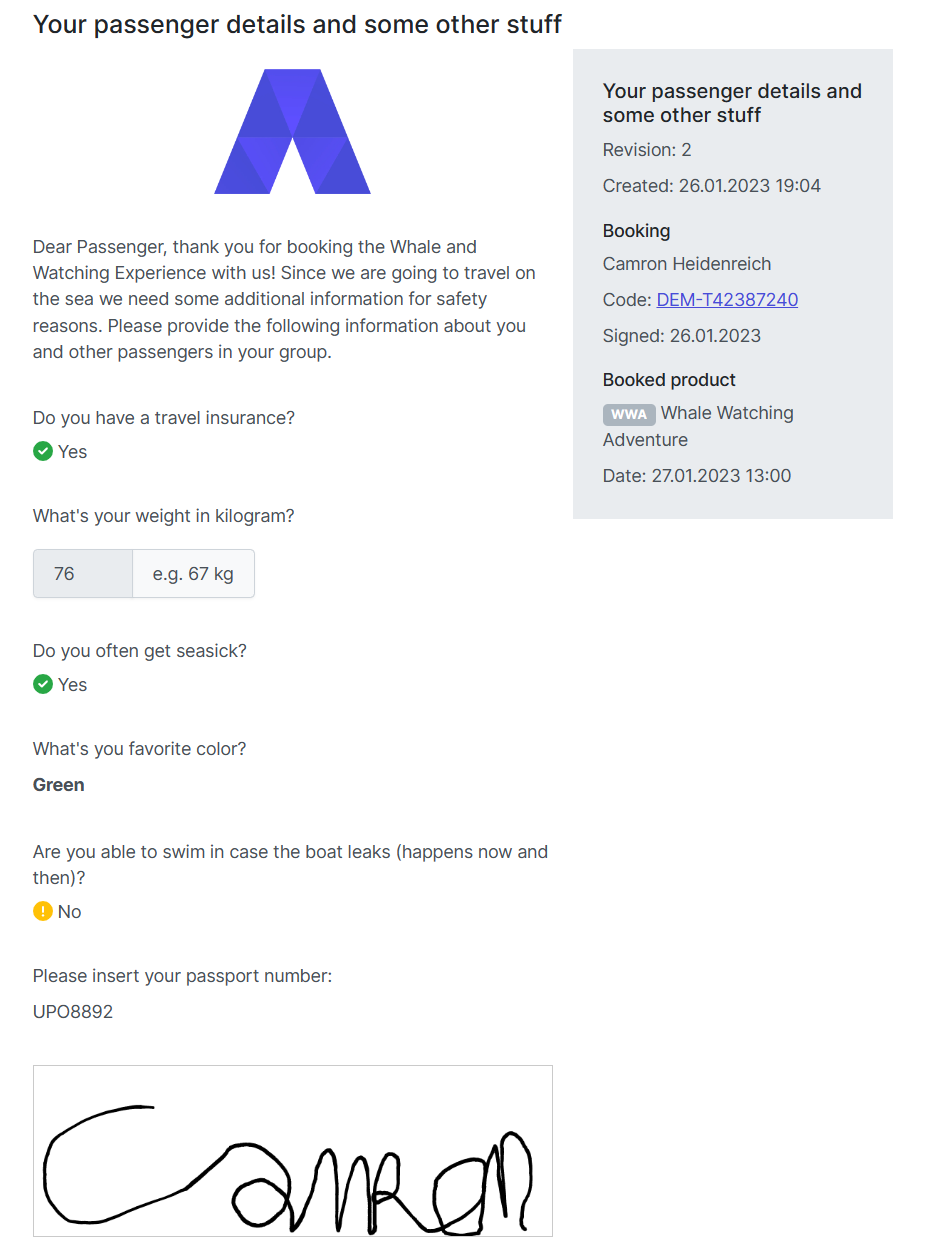
- By clicking on the yellow or green buttons you can check the answers and signature for each passenger.
Now there’s only one thing left to start using Adventure Waivers productively: If you set up your form to be only sent out manually, head back into the Connection settings and change it to be sent out automatically.
That's it, you’re all set now!
In case you have further questions or need help don't hesitate to reach out to this app's third party provider at waivers@adventures.tech.