How to create booking areas for agents (PRO)
This article explains what a Booking Area is and how to create one, and how to assign it to an Agent
What is a Booking Area?
Booking Areas are web pages that are created in Bokun to give your booking agent access to book your experience products. Booking Areas are one of the ways that agents can make a booking.
How do I get started with Booking Areas?
The first step is to add agents to Bokun, if you have not done that already.
Here is more information on how to add booking agents to Bokun.
Then, create product lists to group experiences together that you want to make accessible to the booking agent.
How to Create a Booking Area
To create a booking area select Agents -> Booking areas on the side navigation
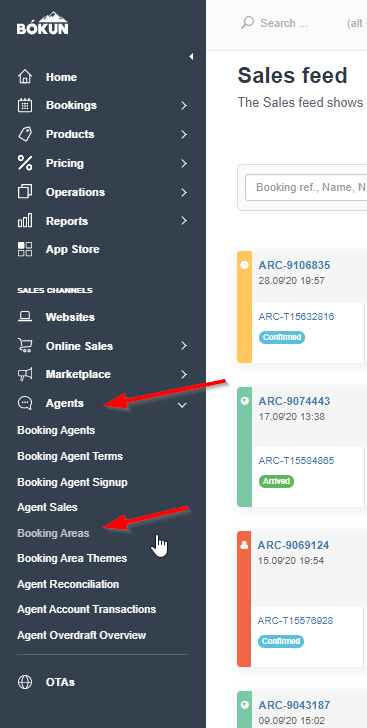
Click on "Add" to create a new booking area.

Add the following information:
Title: Add a title for the booking area. The agent will see this title
Logo: Upload the logo you would like to show on the booking area
Landing page photos: Add one or more photos that will display on the booking area on a rotating basis every time the agent logs in
Landing page list: The products from the selected product list will appear on the booking area's front page when the agent logs into the booking area
Landing page highlight list: You can set a second product list to display pictures, one at a time, on a rotating basis
Product lists: The lists(s) you select here should contain all the products you want to feature to your agent. These lists are accessed from the front page of the booking area.
Languages: Select one or multiple languages that you want to translate content for this booking area.
Disable currencies: Check the box to disable currencies. Disabling currencies means the agent cannot change the currency displayed in the booking area. The default currency will of the booking are will have to be the same as agents default currency, when currencies are disabled. You can find the agents default currency in the agent terms.
Theme: Select the theme of your booking area. The theme is the look and feel of your booking area. Booking areas have a default theme, but you can set up your own customized look by selecting "Contracts" from the top menu bar and then "Booking area themes." Here is more information on how to edit your theme.
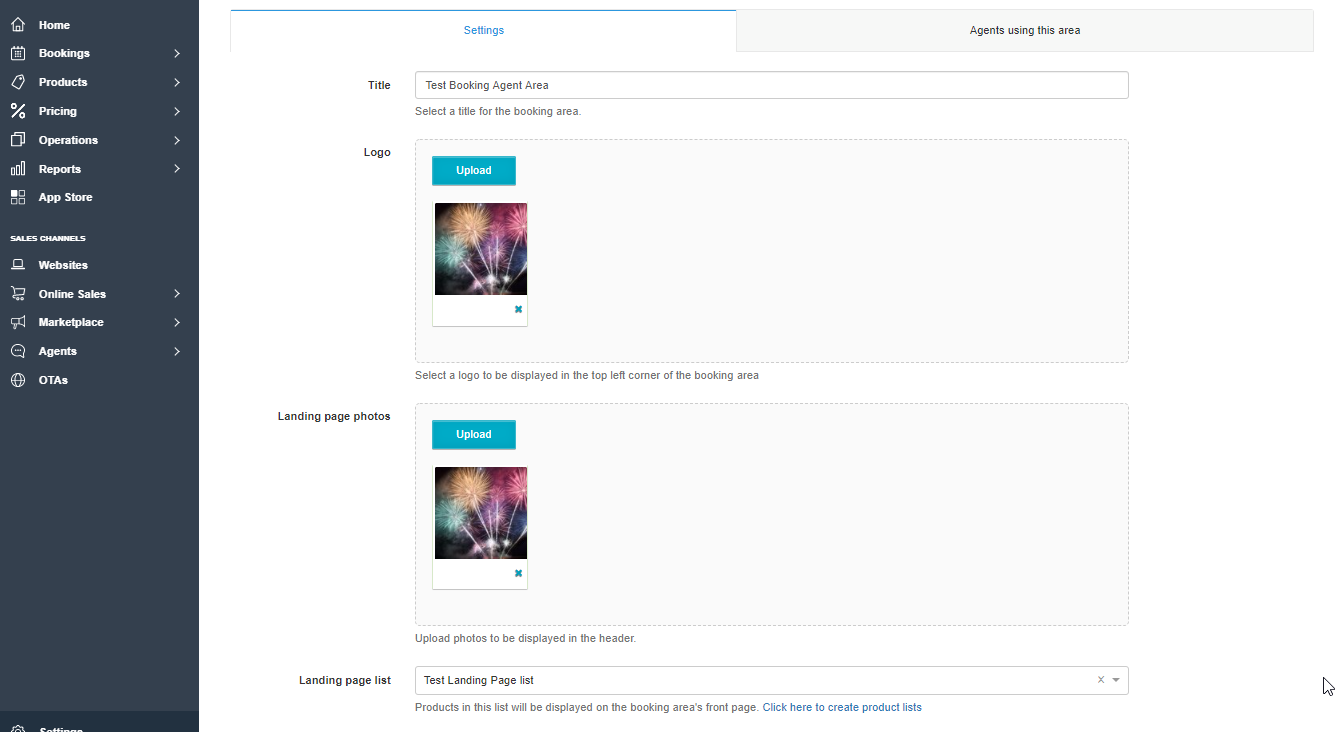
Remember to save all of your settings.
How do I Assign Agents to a Booking Area that I have Created?
You assign an Agent to a Booking Area in agent settings. To get to the agent, select Agents -> Booking agents, on the side navigation.
Select the agent you need to add to a Booking Area from the list of your agents.

Then select the blue "edit button", to edit your agent.

Scroll down to the "Booking area settings"
Booking Area: select the booking area from the dropdown list you want to add to your agent.
Subdomain: Create a domain for the booking area. This is only necessary for public booking areas. The subdomain will be a part of the URL that you send to your booking agents to book your products. This is how your booking URL will look like: https://subdomain.bookingarea.bokun.io

How do I Preview the Booking Area?
To get back to the booking areas select Agents > Booking areas from the side navigation. Then open the booking area you would like to preview.
At the top of the Booking Area page, select the "Agents using this area" tab

Select "Preview" to take a look at the Booking Area and see how it works.

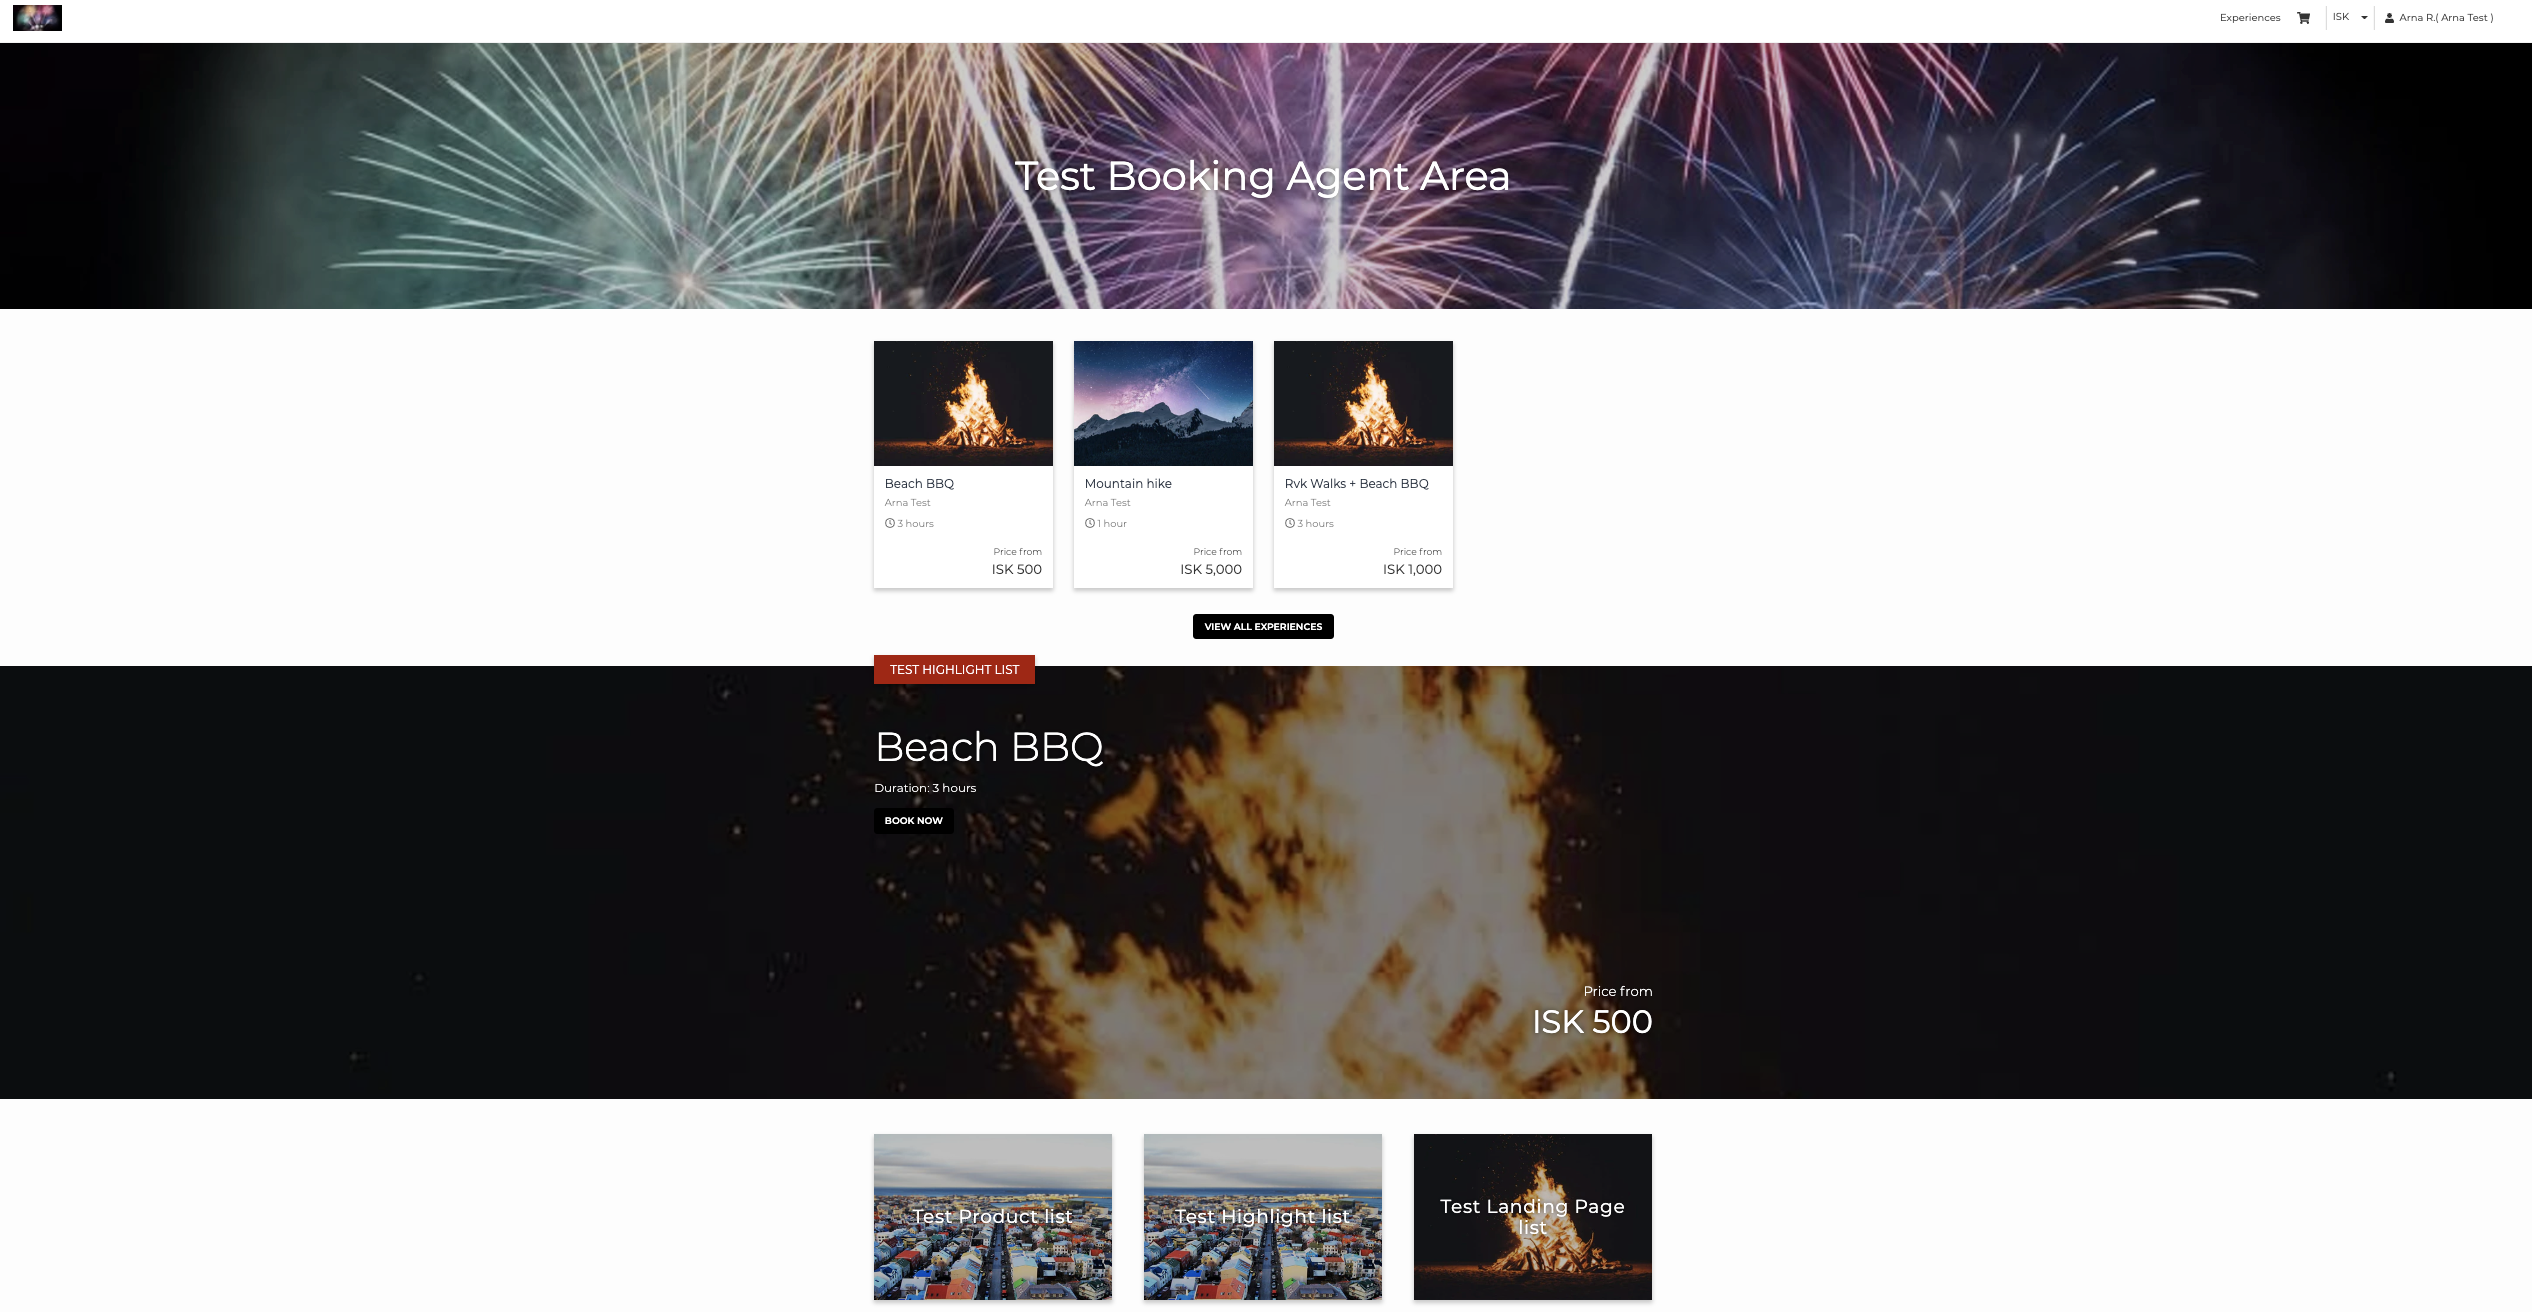
Here is an example of a booking area. tThe featured products you see, and the sections at the bottom of the screen are the product lists added in the booking area settings.
How do I navigate around the Booking Area?
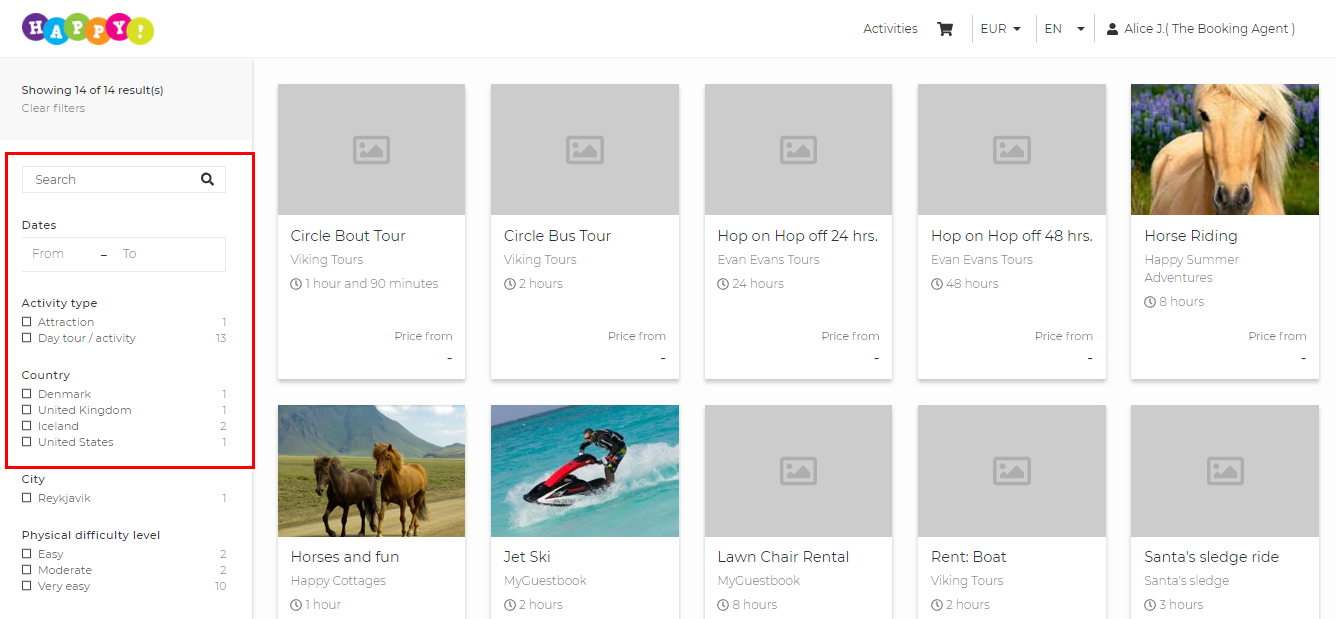
If you select "VIEW ALL EXPERIENCES", you get a full list of all the experiences, and filters to search for a specific one. It is recommended to add pictures to all of your experiences. Otherwise your booking area will end up showing grey pictures, like in this example:
How Do I Book an Experience in a Booking Area?
To book an experience, select an experience, and enter the booking process.
Follow the steps until you reach a check out page. The checkout settings are determined by the supplier in the Agent Settings.
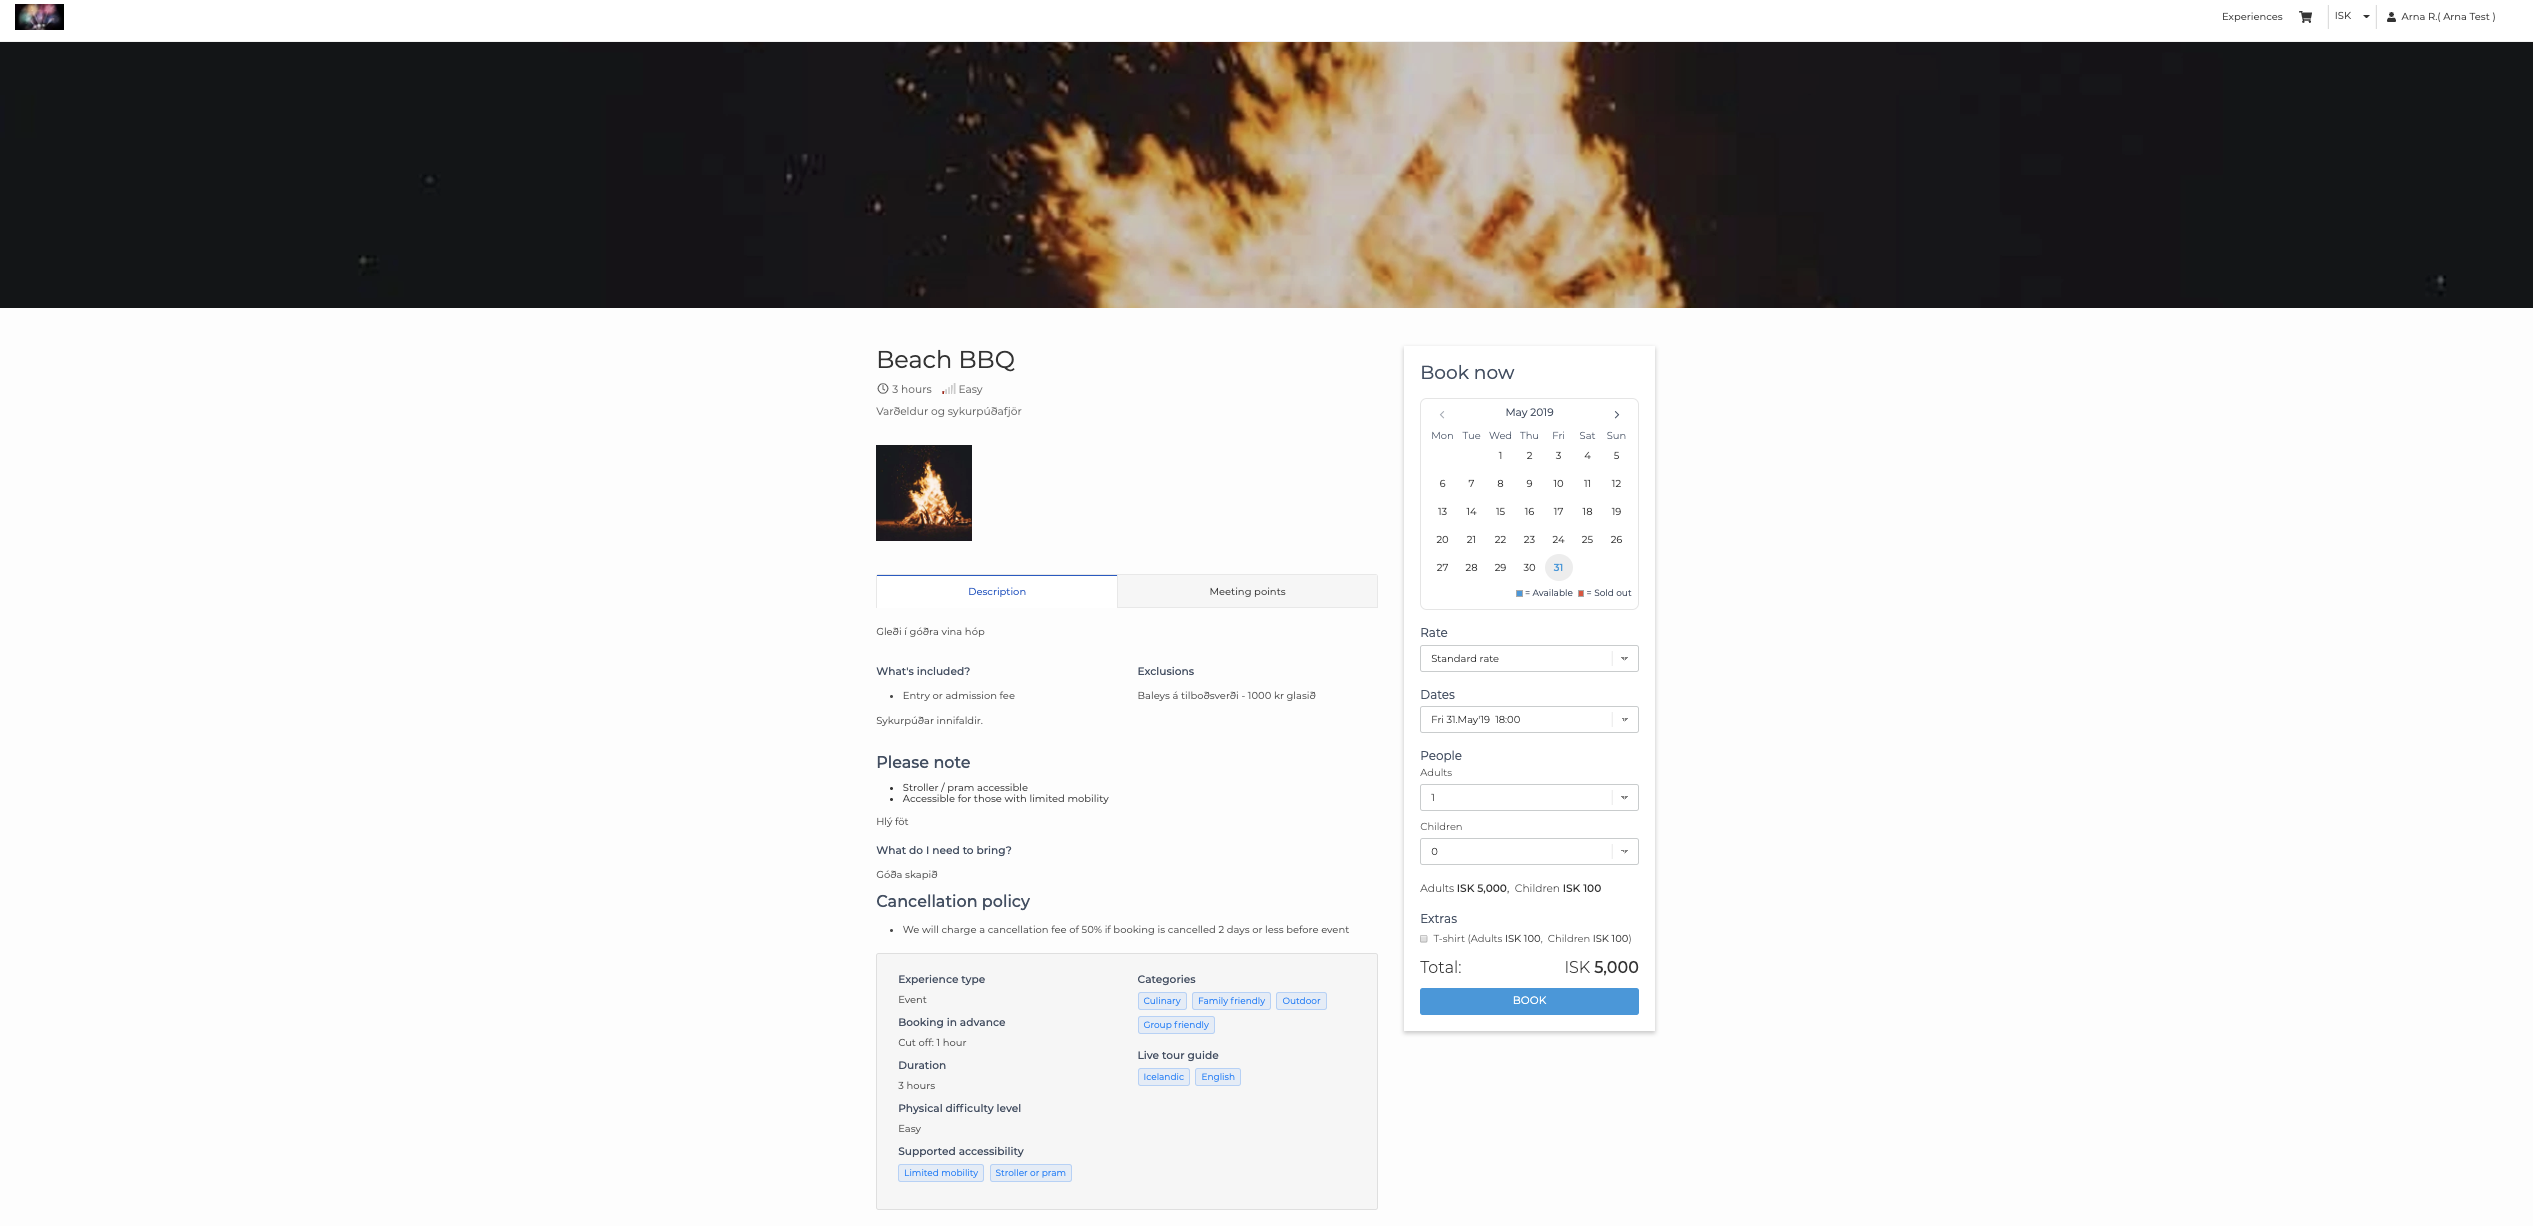
Agent admin area:
If the agent user is "Account Holder" he can access the agent admin area. In the Admin area the agent can view and edit his own bookings. He is able to change dates, edit customer details and cancel bookings.
The agent gets to the admin area by selecting his name at the top of the booking are page, the he selects "Admin Area" from the drop-down list.

This is how the admin area looks like, it is a restricted version of your sales feed, where the agent can only see his own bookings.
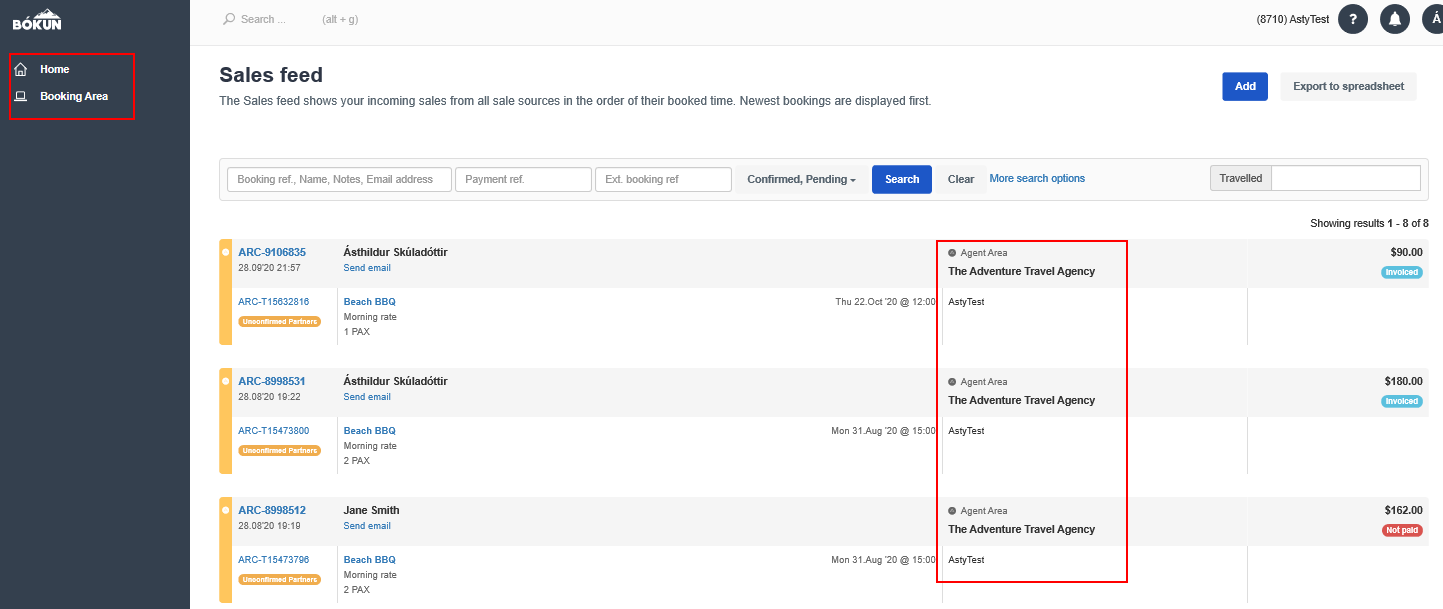
Please note, if you are previewing the agents Booking Area and go to the agents admin area to take a look at the bookings, you will see all bookings, not just the agents bookings, because you are logged in as you. If you would be logged in as the agent, you will only see the agents bookings.
Good to know:
Same booking area for mulitple agents: Keep in mind you can use the same Booking area for multiple agents, in the case you have multiple agents who do not need a Booking area tailored to their look and feel, you can use the same booking area for all your agents. Product selection and rates for each agent are determined with the contract terms, and will appear uniquely per each agent.
Product lists allow you to select which products you want to feature on your Booking Area and will be shown on the Front page. However, product lists are not restricting the rest of your products to be shown when "All Experiences" is selected. Here are information on you create Product lists.
In all experiences all products you own and you can sell based on your marketplace contracts will appear, unless you add Product Distribution to the agents contract terms to hide products.
Product Distribution: Product Distribution is a rule you can create to hide / restrict certain products and suppliers from being shown on your agent Booking Area. Product distribution is a rule you add to your agent contract terms. Note if you have e.g. contracts with mulitple suppliers on the marketplace, whos products you do not want to resell to your agents, you need to add a rule to hide those products.