How do I add a payment provider to accept online payments?
This article explains how to integrate your payment provider with Bókun to accept online payments on your website.
To be able to use a payment provider to process payments for your bookings you must:
- Have a contract with a payment provider supported by Bókun.
- Configure the payment provider in Bókun
- Add it to the booking channel you use to take bookings.
What is a payment provider?
A payment provider is an e-commerce application service provider that authorizes credit card payments for a business. It processes the traveler’s payment card on your website and manages the payment transaction.
What are the payment providers available in Bókun?
Bókun support multiple payment providers. You can access a full list and further information here: Payment providers
To find the list of available payment providers, navigate to Settings > Sales settings > Payment Providers or type Payment Providers in the search bar at the top of the side navigation menu.
You can see the most popular providers in the main page sorted by your location and just below it you have a dropdown list of additional providers. If a Payment Provider has more than one option (i.e. a payment gateway, Payment Page, Token) this is visible across different tabs.
When you select the payment provider, a new page opens, and you will be prompted to add information in order to make the integration. The title field will automatically populate a name for the Payment Provider but you can still change the name if you'd like to.
Step by step guides to set up a payment provider in Bókun
Here is a list of step by step guides for the below payment providers:
- Braintree: How to set up Braintree
- Central pay: How to set up Central pay
- GMO: How to setup GMO
- Nets easy: How to setup Nets easy
- Rapyd: How to set up Rapyd Token
- PayPal: How to set up PayPal Token or How to set up Payment page
- Paytrail: How to set up Paytrail
- Plug'n Pay: How to setup Plug'n Pay
- saltpay/teya: How to setup saltpay/teya payment Page
- Stripe: How to setup Stripe
- Trust My Travel: How to set up Trust my Travel
- Valitor: How to set up Valitor payment Page
- WorldPay: How to add Worldpay payment page
Adding a payment provider to your booking channel
You need to add the payment provider to your booking channel. A booking channel is an online sales channel that tracks where your online bookings are coming from. Usually, it will be your company's website. You can also connect your payment provider to the payment link booking channel to take online payments for manual bookings. Here is how
You can sign up for more than one payment provider, that's why you need to select the correct one. You can for example use one payment provider for your European travelers, and another one for your US travelers.
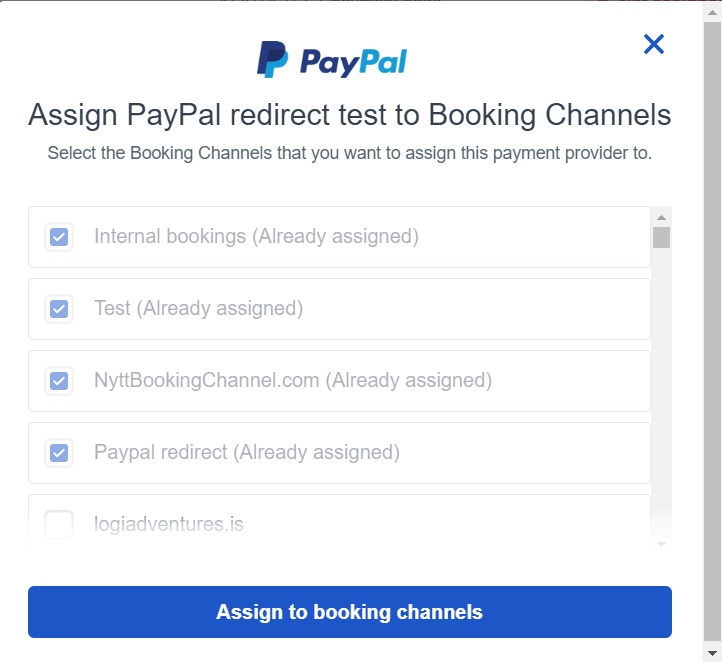
Once your payment provider has been added, you will be automatically asked to assign it to a booking channel.

Now you are set and ready to accept payments for your bookings.
You can also just select the channel symbol to assign any payment provider previously created to a specific booking channel. This looks like this:


Changing an assigned payment provider
If you need to change an assigned booking channel, had to Settings, then Booking channels.
- Select the booking channel you wish to change ang navigate to the Pricing and Payments tab.
- Remove the current payment provider by clicking the X next to the payment providers name.
- Select the new payment provideryou wish to use in the dropdown menu.
- Select continue.
The last step: Test your payment process
After you add a booking engine to your website, it's a good rule to create a booking and pay for it. This is to test both the booking process and to double-check that your payment option is functioning as it should. Learn more about how you can add a booking engine to your website and test the whole booking process.
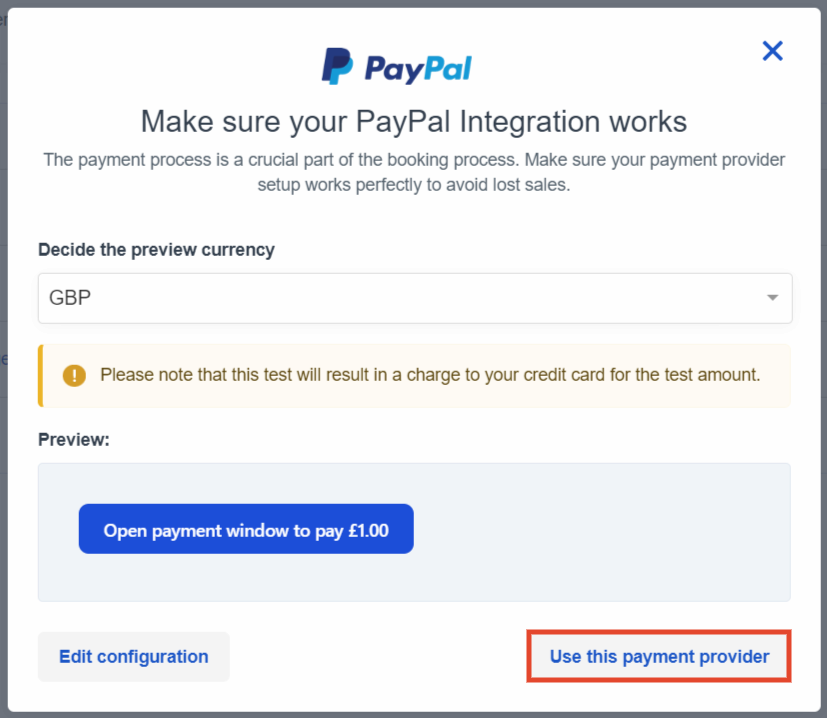
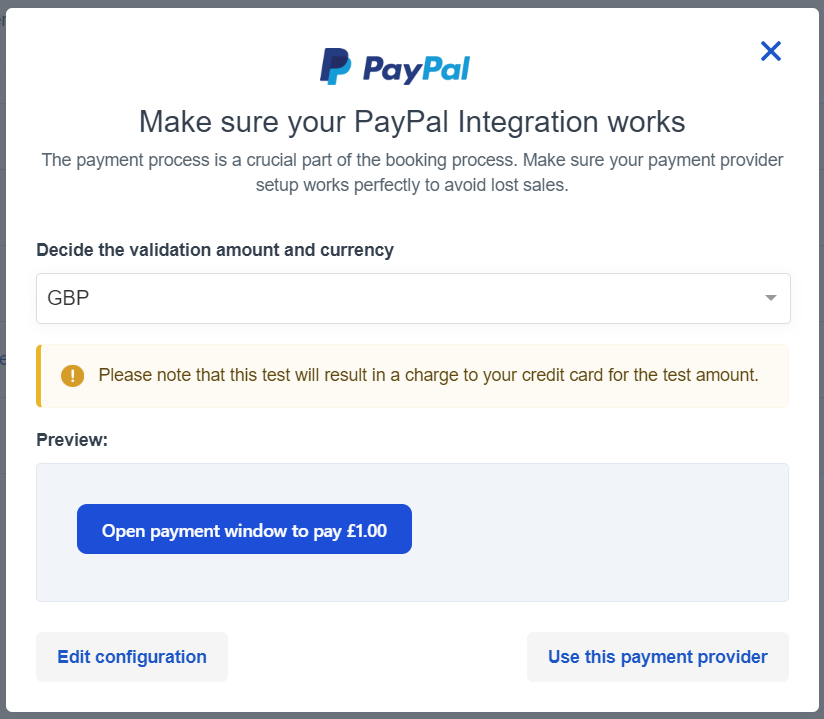
If your payment provider is either a redirect page or a Rapyd token or Stripe token, you can test your payment provider directly in the payment provider section instead.

- Select the test icon on the right-hand side of the payment provider.
- You’ll then be able to test the connection charging 1 USD or the equivalent in your preferred currency to your credit card/payment provider.
⚠️ Please note that this test will result in a charge to your credit card for the test amount.

You can refund the amount charged if you enter your payment provider account on their plattform and follow the refund process to refund to your card.